*SPECIAL OFFER* For FREE tile delivery use code FREETILE

Your Basket

Affordable Indulgence Kitchens - Installation Guide

Fitting our kitchen cabinetry is a straight forward process with just little know-how. We have put together a simple, step-by-step guide for you to follow if you are attempting to install your own kitchen cabinetry.

Alternatively, you could approach a local builder or fitter to help with your project. Generally, a skilled carpenter could fit a standard sized kitchen in a day depending on the design. 

Continue below if you would like to read more on how to install your own kitchen.

Base Units


1.

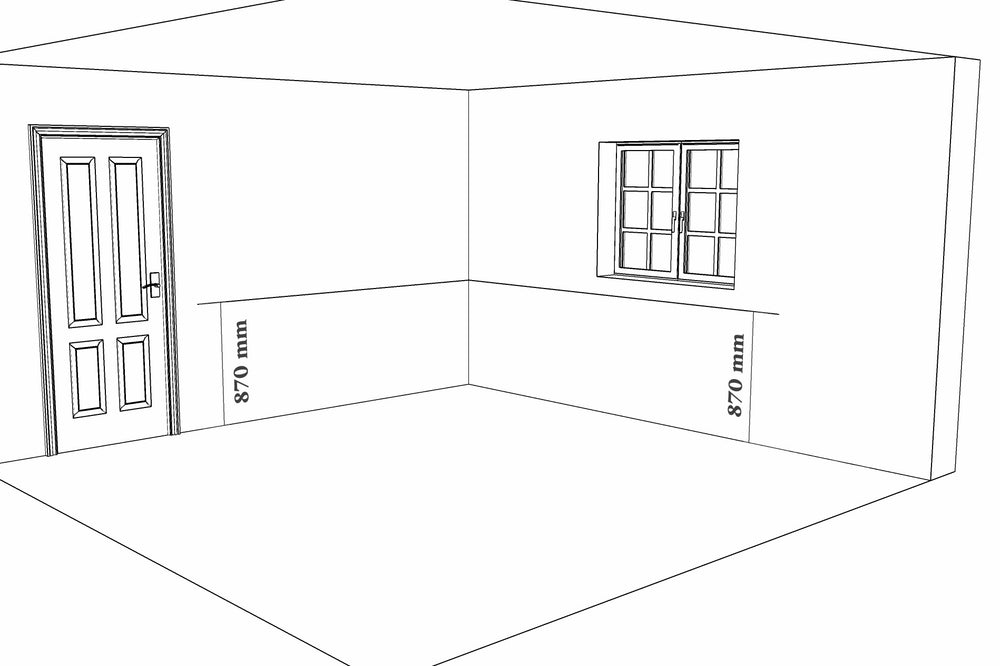
Ensure floors are level and set the height for the base units to be fitted at. This should be 870mm to the top of the unit. Mark a line at 870mm around the walls that the base units are to be fitted to.


2.

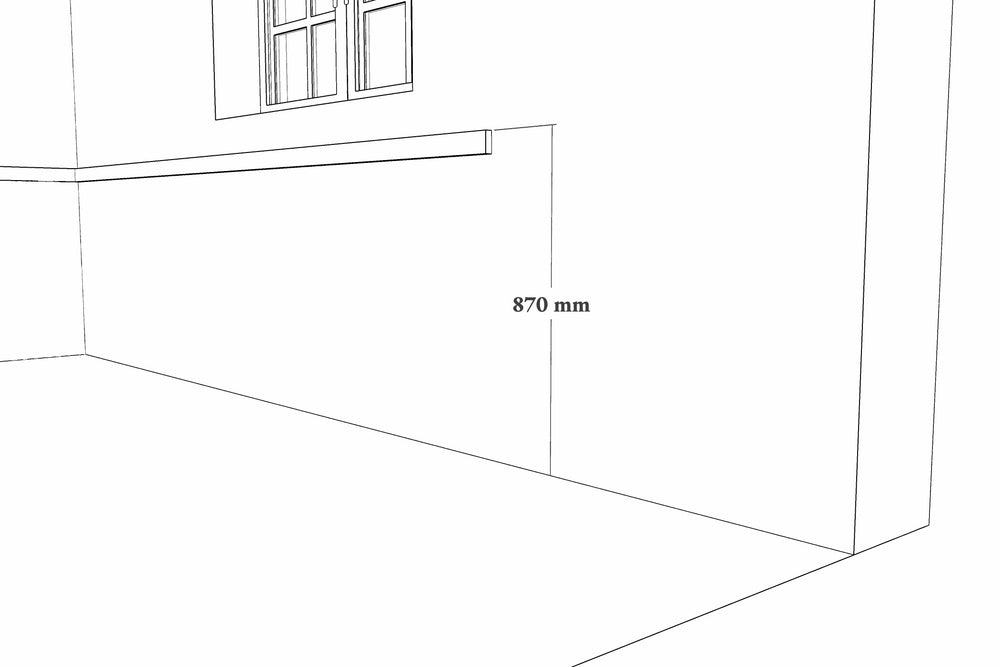
Screw a 20mm wooden batten to the wall with the top of the batten at the 870mm marking.


3.

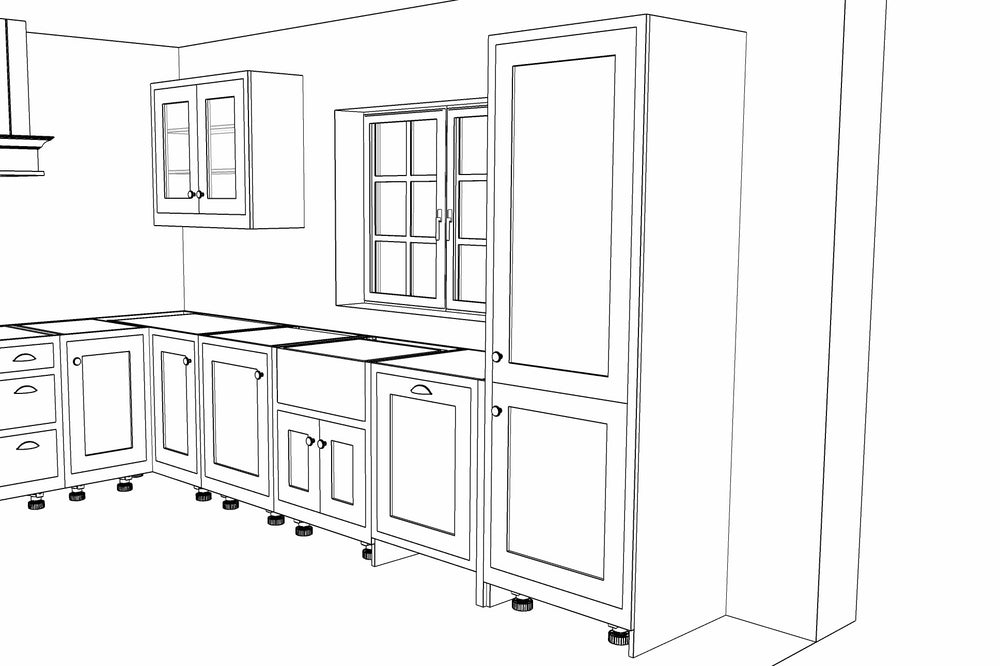
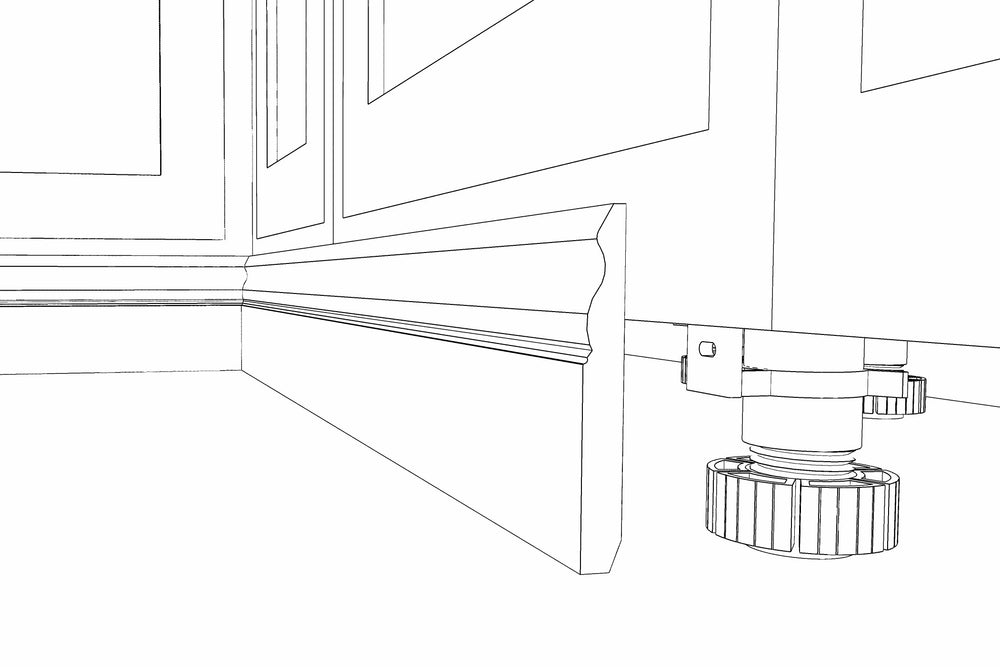
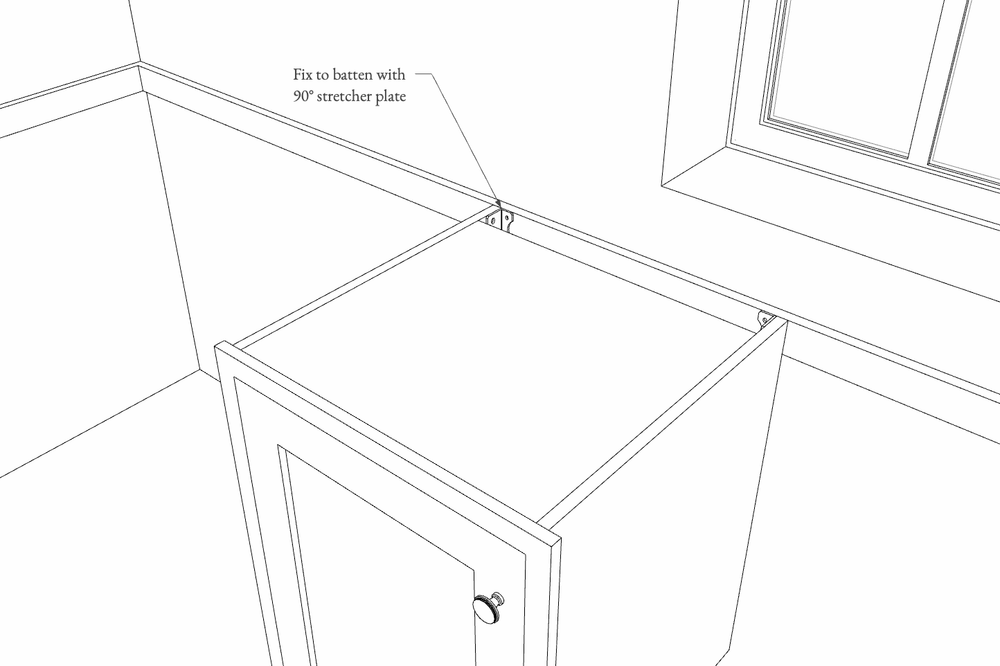
Secure the unit to the batten with 90° stretcher plates, making sure that the top of the unit is measuring at 870mm. Use the adjustable feet to get the unit level, checking the level left to right and front to back with a spirit level.


4.

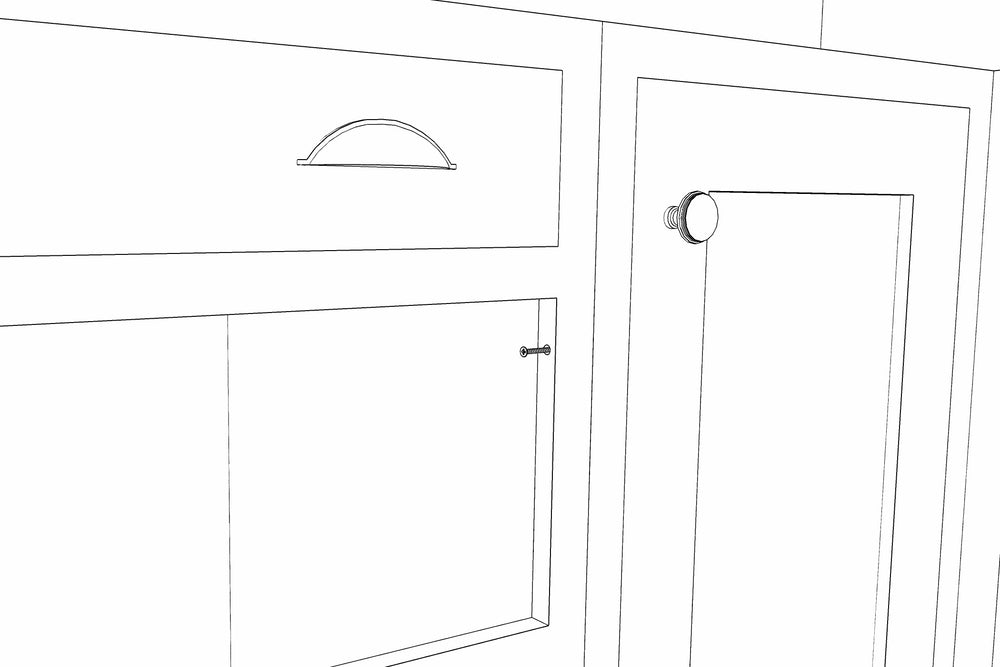
Fit the adjacent unit in the same manner. Remove the door or drawers from one of the units and drill through the frame sideways. Fix the units together through the frame with a screw. If removing a door hinge, screw behind the removed hinge.


Tall Units


Mark a line on the wall at 2120mm. Add a 20mm wooden batten to the wall and affix as per the base units.


Wall Units


1.

Mark a level line at 2120mm from floor height where the wall units are to be fitted. Continue to mark a line 40mm lower than this, the top of the batten will sit here.


2.

This is a 2-man operation.

Lift the wall unit on to the batten then screw through the back of the unit into the batten. Drill all four corners through the back panel to mark the wall behind. Remove the unit from the batten then drill and rawl plug the wall before remounting the unit and screwing firmly to the wall.


Finishing


1.

Fit all End Panels

18mm End panels sit on the side of the cabinet, behind the frame, to conceal the carcass on any open and visible ends. This will mostly occur when a run of cabinetry ends facing into the room and away from any wall. They will also provide useful for covering open sides where integrated or freestanding appliances are installed. 18mm end panels are provided at the full depth of the cabinetry so to allow excess for scribing.

36mm End panels are primarily used next to an integrated or freestanding appliance where a cabinet does not follow. For example, if an Integrated Dishwasher Door was fitted at the end of the run, a 36mm end panel will be used to finish it off and provide an anchor for the worktop to sit on. 36mm end panels sit level with the front of the cabinetry and are oversized to allow excess for scribing.

Screw through from the inside of the unit to fix the scribed end panel.


2.

Fit the Skirting.

To fit the skirting, cut to length so that it follows around all base and tall cabinetry, including down the sides of end panels the end of a run. The skirting will need to be mitred in all corners, fix these with Mitre Bond or similar product. Pin the skirting to the lower frame of the cabinetry front, if floors are not level then the skirting may need to be scribed to the floor. Fill over the pins with wood filler and then paint to touch up and blend in.

Ideally the skirting should be fitted after the worktops have been installed as the additional weight can cause the cabinetry to shift ever so slightly.


3.

Fit the Cornice.

To fit the Cornice, cut to length so that it follows around all wall and tall cabinetry, including down the sides of end panels the end of a run. The cornice will need to be mitred in all corners, fix these with Mitre Bond or similar product, then screw to the top of the units.


4.

Admire your new kitchen complete with handles, appliances and worktops!


Need help? Get in touch.

Newsletter